You will use WordPress’s Pages feature to build webpages. Pages are static (vs. Posts, which are blog posts that appear in chronological order and can be associated with tags and categories).
The Art Portfolio template uses a pagebuilder plugin called Elementor for building out page content. Elementor allows you to drag and drop content types called “widgets” onto a page, and easily organize them in different Sections, with Columns within them (Sections > Columns > Widgets).
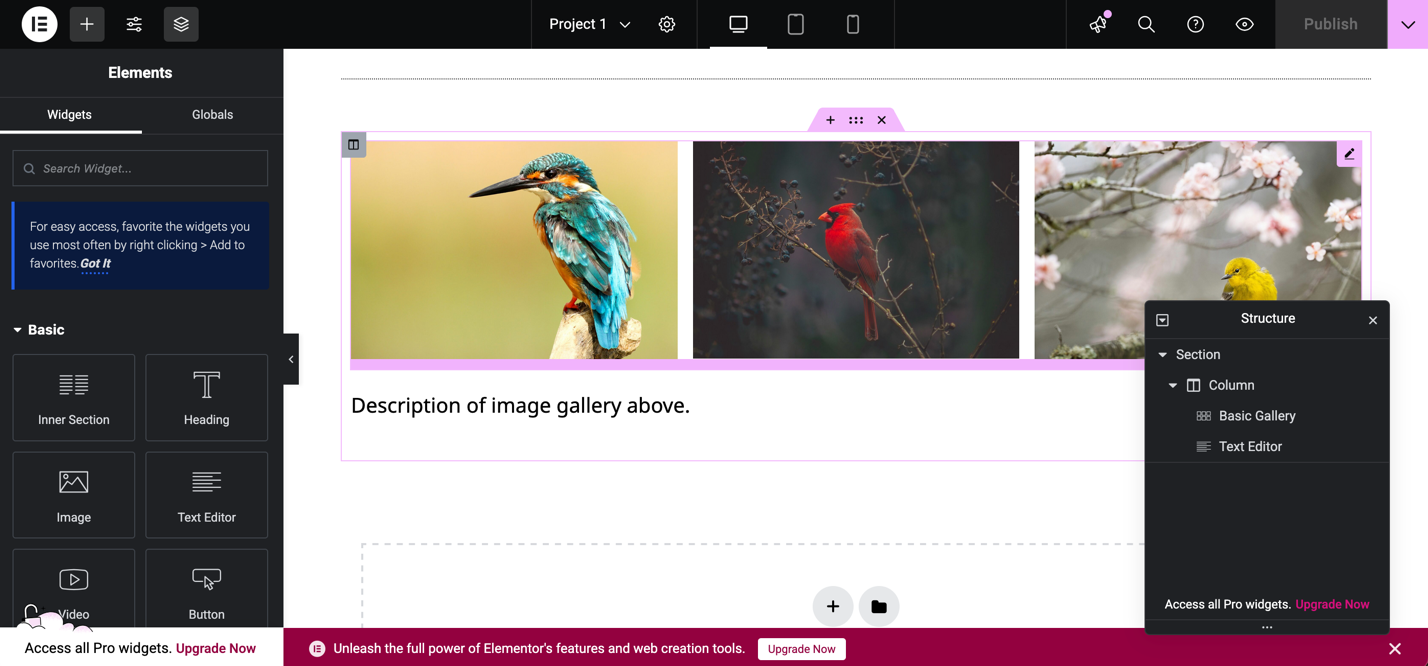
Screenshot of the Elementor pagebuilder plugin active on the Project 1 page.
Follow these instructions for creating or editing a page:
- Click Pages in the left-hand navigation menu.
- Click Add New if you want to create a new page or click the title of an existing page if you want to edit it. Some template pages have been created for you.
- Click the blue Edit with Elementor button to edit the page in Elementor.
- Click the plus button on the page to add a new page section and select your desired column layout.
- Click the plus button in the top left (part of the side menu) to add content widgets to the page by dragging and dropping them. You can search for widgets or browse the Basic and General sections of the Widget menu. (Please note that Pro widgets are not available with the basic Elementor plugin.) Some widgets of interest:
- Heading
- Text Editor
- Image
- Image Gallery
- HTML (to embed content from elsewhere, such as a video from Vimeo, audio from Soundcloud, a StoryMap…)
- After clicking on a widget, you can customize its content and styling from the left-hand menu pane. Navigate using the tabs at the top (Content / Style / Advanced) to make your desired customization.
- When you’re done working on page content, click the Publish button in the top right to make your changes visible on the front-end, or the Save Draft option (in top right carat dropdown) to save your changes but keep the page private for now. Don’t forget to save as you go, so your work is saved if you leave and come back.
Please note that you do not have to use the Elementor plugin to build pages and can instead choose to use the WordPress block editor. You can make this decision at the page level, or you can deactivate the Elementor plugin entirely from the Plugins page.
Uploading and Embedding PDFs
A plugin called PDF Posters has been installed for managing PDFs. Follow these instructions to embed a PDF on a page.
- Click on PDF Poster in the left-hand navigation menu.
- Click the Add New Pdf button at the top.
- Give your PDF a title, upload it using the upload button under PDF Poster Configuration, and configure the settings to your liking.
- Save your PDF using the Save button in the top right-hand corner.
- On the PDF listing page, click into the ShortCode button to copy the shortcode for embedding the PDF (which should look something like [pdf id=79]).
- Then paste the shortcode by itself into a text editor box in Elementor: when you publish the page, you should see the embedded PDF in place of the shortcode.
Page Settings: Changing the Page Title
You’ll want to change the page titles from the default template titles, at least for your project pages! Changes to a page title will be reflected on the site menu as well. You can do this from the page settings menu within a page, which you can access by clicking the gear icon at the top of the Elementor editor.

- Click into the page built with Elementor.
- Click the Page Settings gear icon at the top of the page (next to the page title).
- Navigate to the title section and type a new title for your page, then click Publish to save your changes. You should see your change appear on the site menu as well.
Please note that changing the page title does not change the page URL: to change the URL, navigate to the Pages page in WordPress, scroll down to the page whose URL you want to change, click Quick Edit, and change the content listed under slug (the slug is the part of the URL after your main site URL – myportfolio.sites.grinnell.edu/slug)

Page Settings: Showing/Hiding Page Title
Page titles on the project pages have been hidden by default on pages built with Elementor, but it is possible to show them at the top of the page. It is also possible to hide page titles on newly created pages.
- Click into the page built with Elementor.
- Click the Page Settings gear icon at the top of the page (next to the page title).
- Toggle the yes/no switch next to Hide Title, then click Publish to save your changes.